How to Convert a Fiberglass Shower to a Tiled Shower
A cracked or dated fiberglass shower stall can't be tiled over — the surface is too smooth and flexes too much for tile mortar to grip. The fix is to strip it out down to the studs, waterproof properly, then tile. It's a real weekend project, but the materials matter more than the tools: skipping the waterproofing membrane is the single most common reason a tile shower leaks within a year.
The right product for this job
Steps
1. Remove the old fiberglass unit
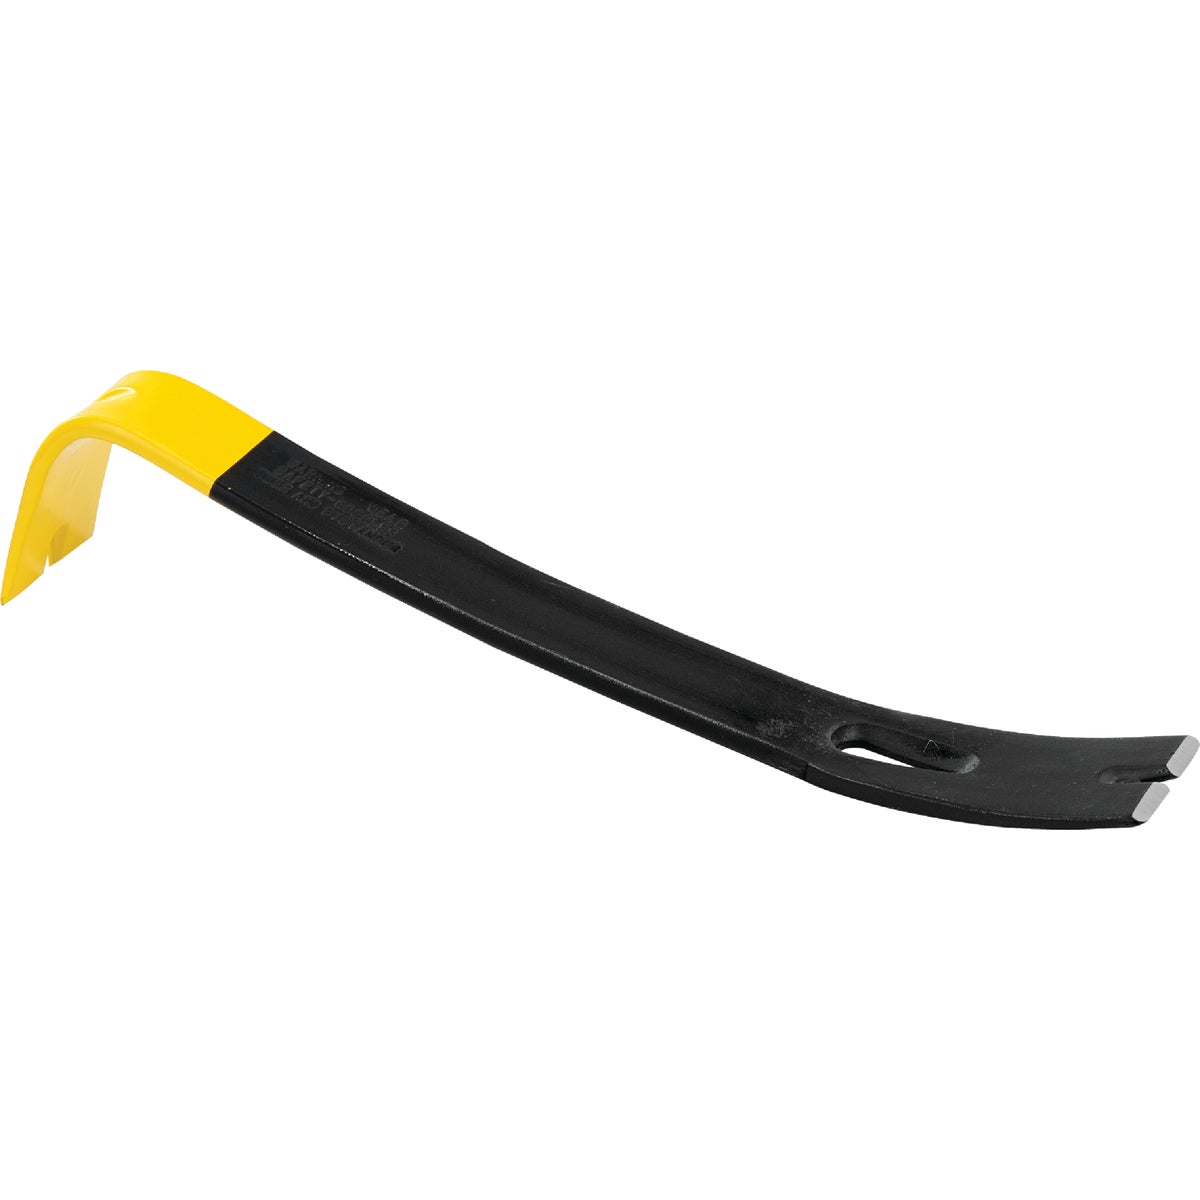
Cut through the caulk/sealant at every seam and edge with a utility knife, then work a flat pry bar behind the panel edges to break it free from the studs. Fiberglass surrounds are usually screwed or nailed through a flange — find and remove those fasteners before prying harder sections.
2. Hang cement board
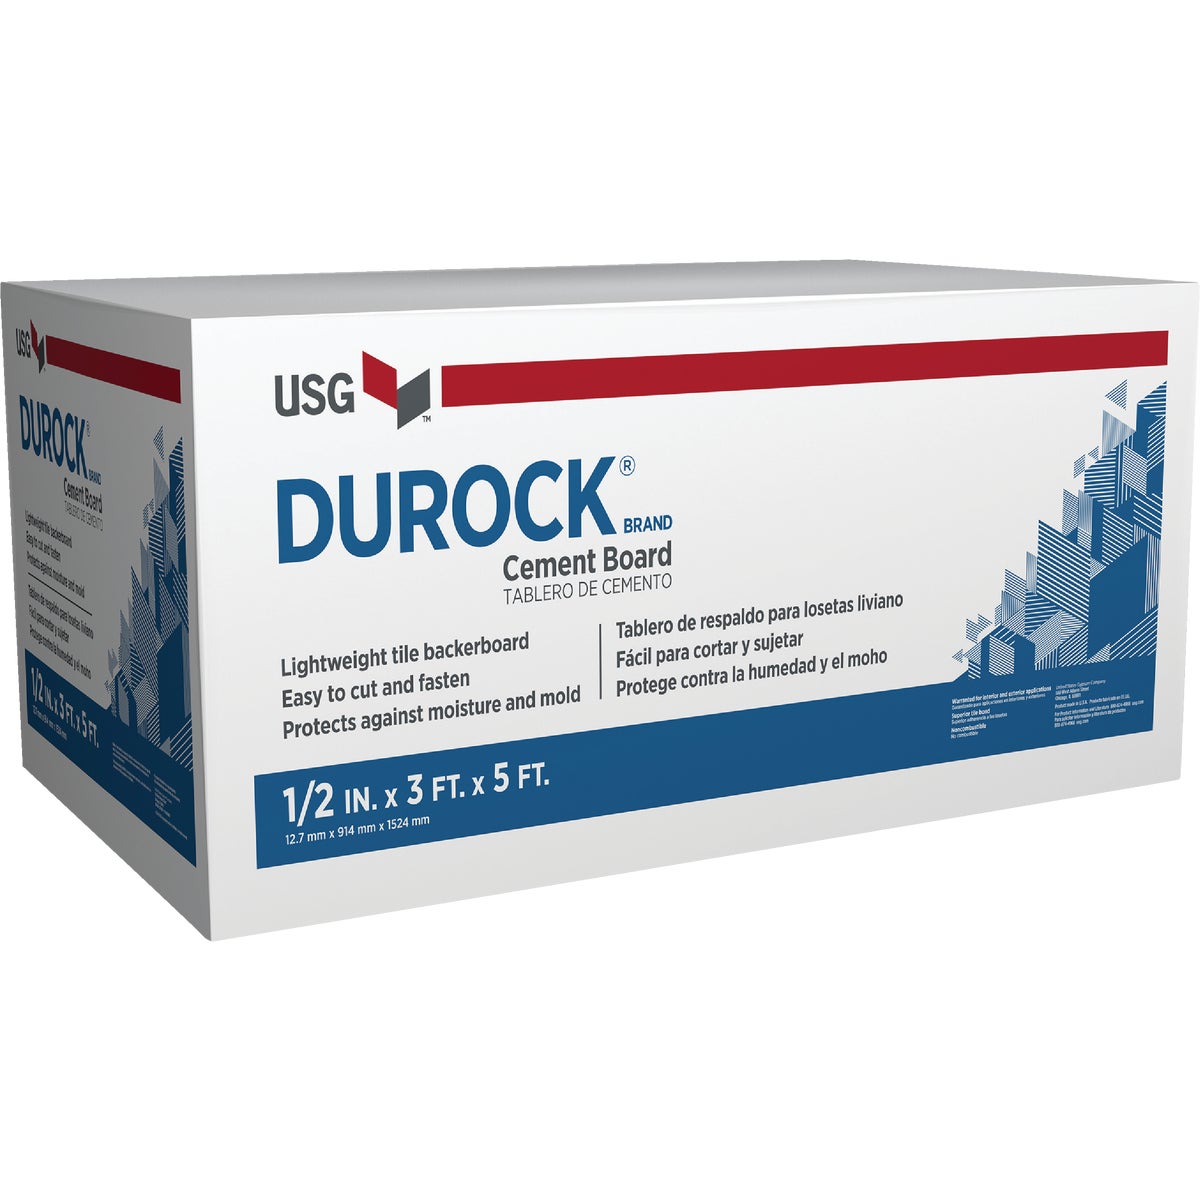
Screw 1/2 in. cement backer board to the studs in the wet area, leaving a small gap above the tub/pan per the manufacturer's instructions. Tape the seams before waterproofing — mortar alone will not bridge a seam that moves.
3. Waterproof the whole wet area
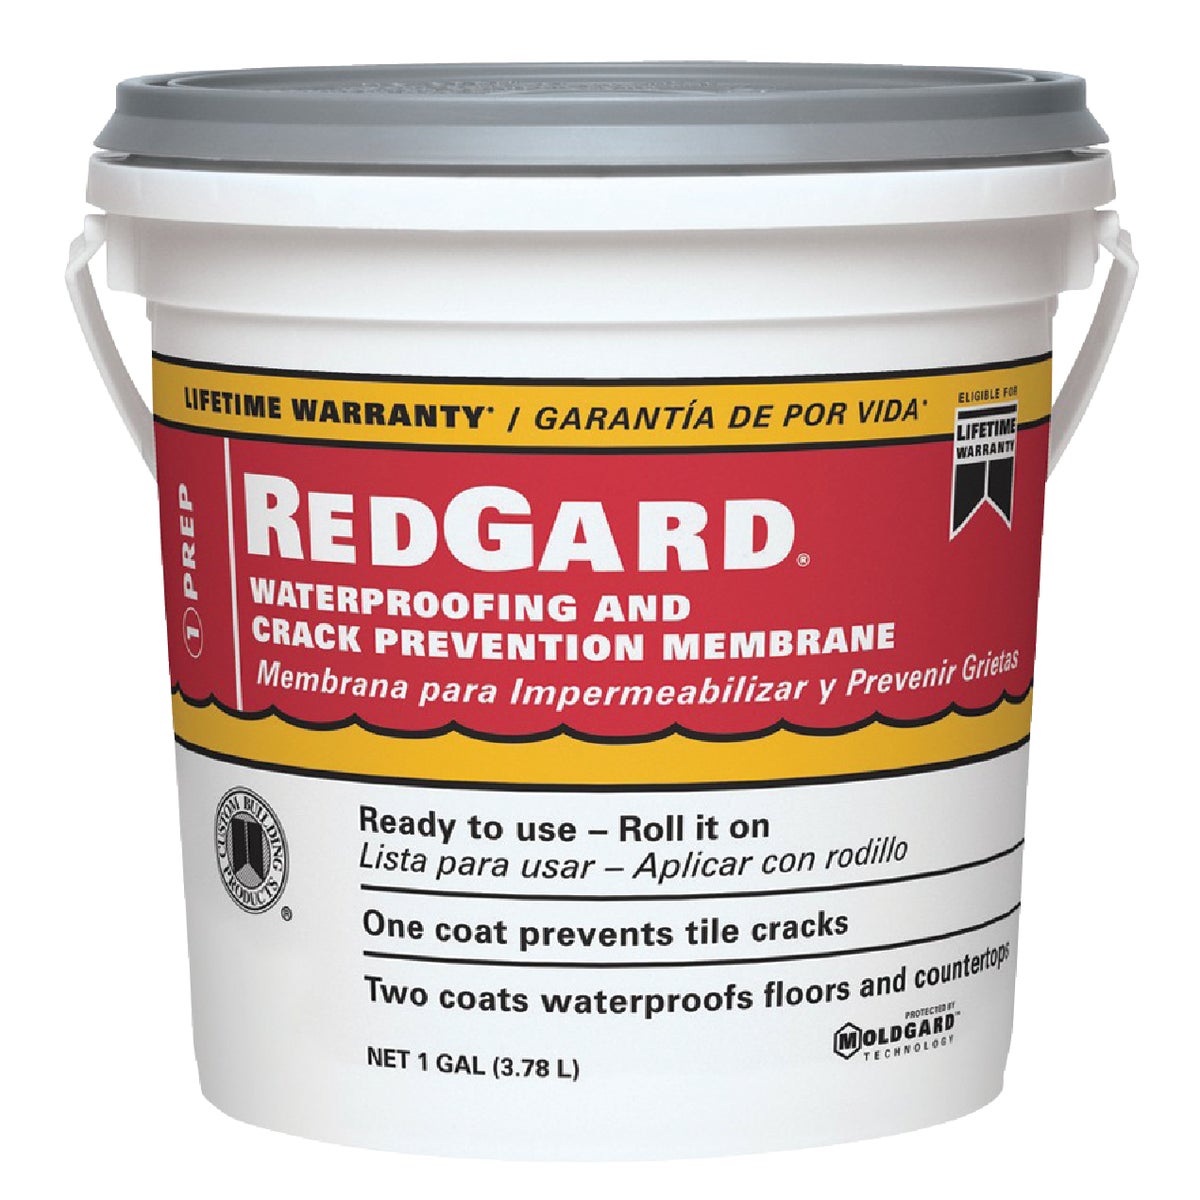
Roll on a liquid waterproofing membrane over the entire cement board, including every seam, inside corner, and the transition to the tub or pan. This layer — not the tile or grout — is what actually keeps water out of the wall; let it cure fully before setting tile.
4. Set the tile
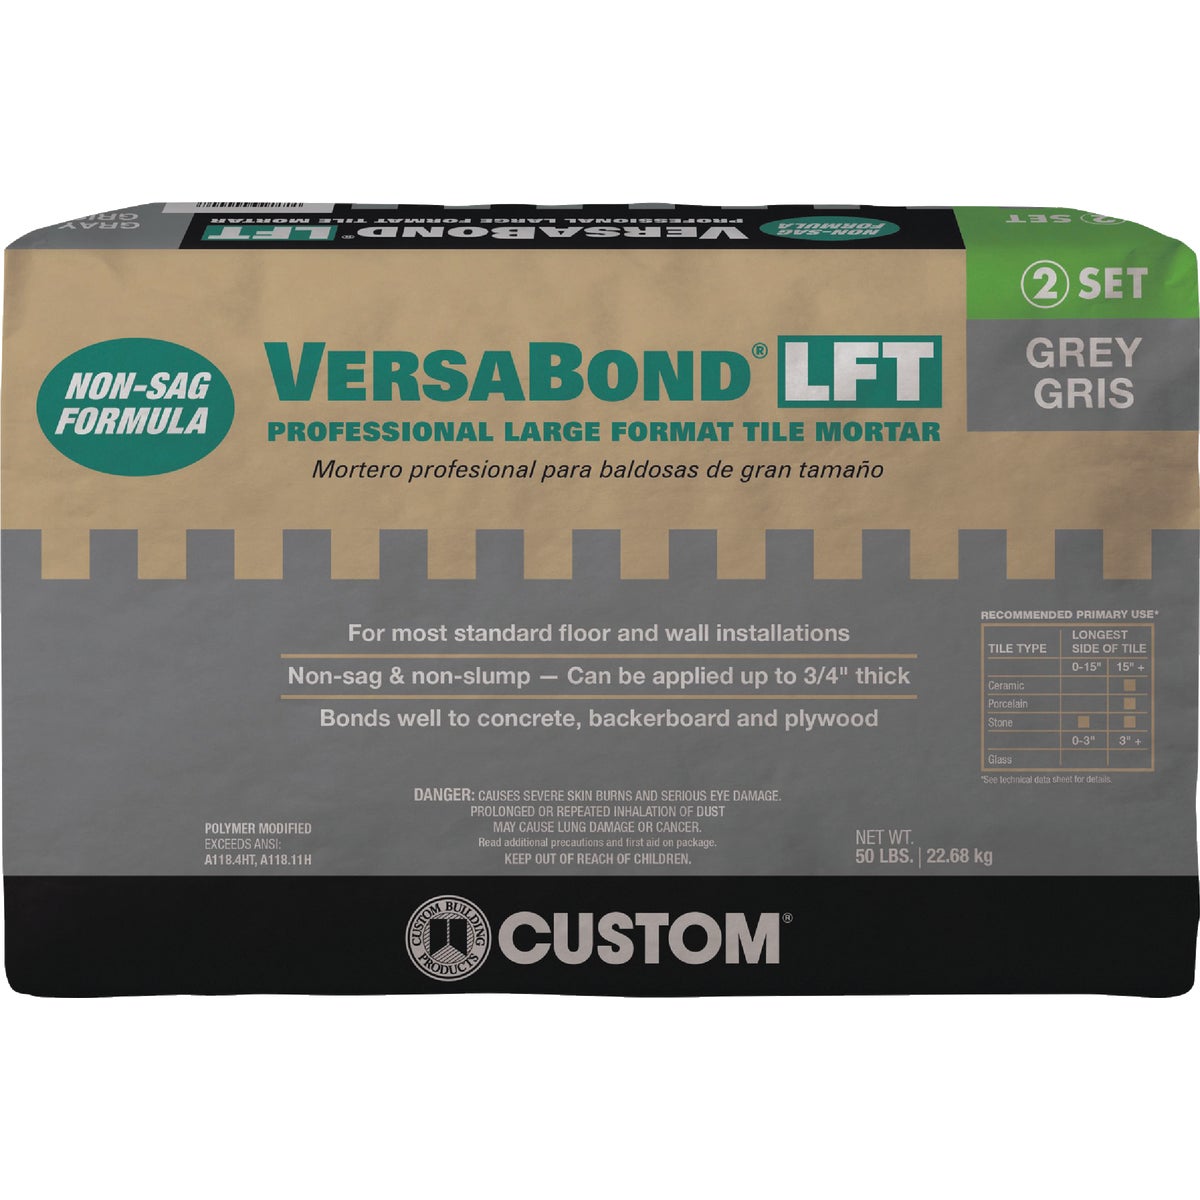
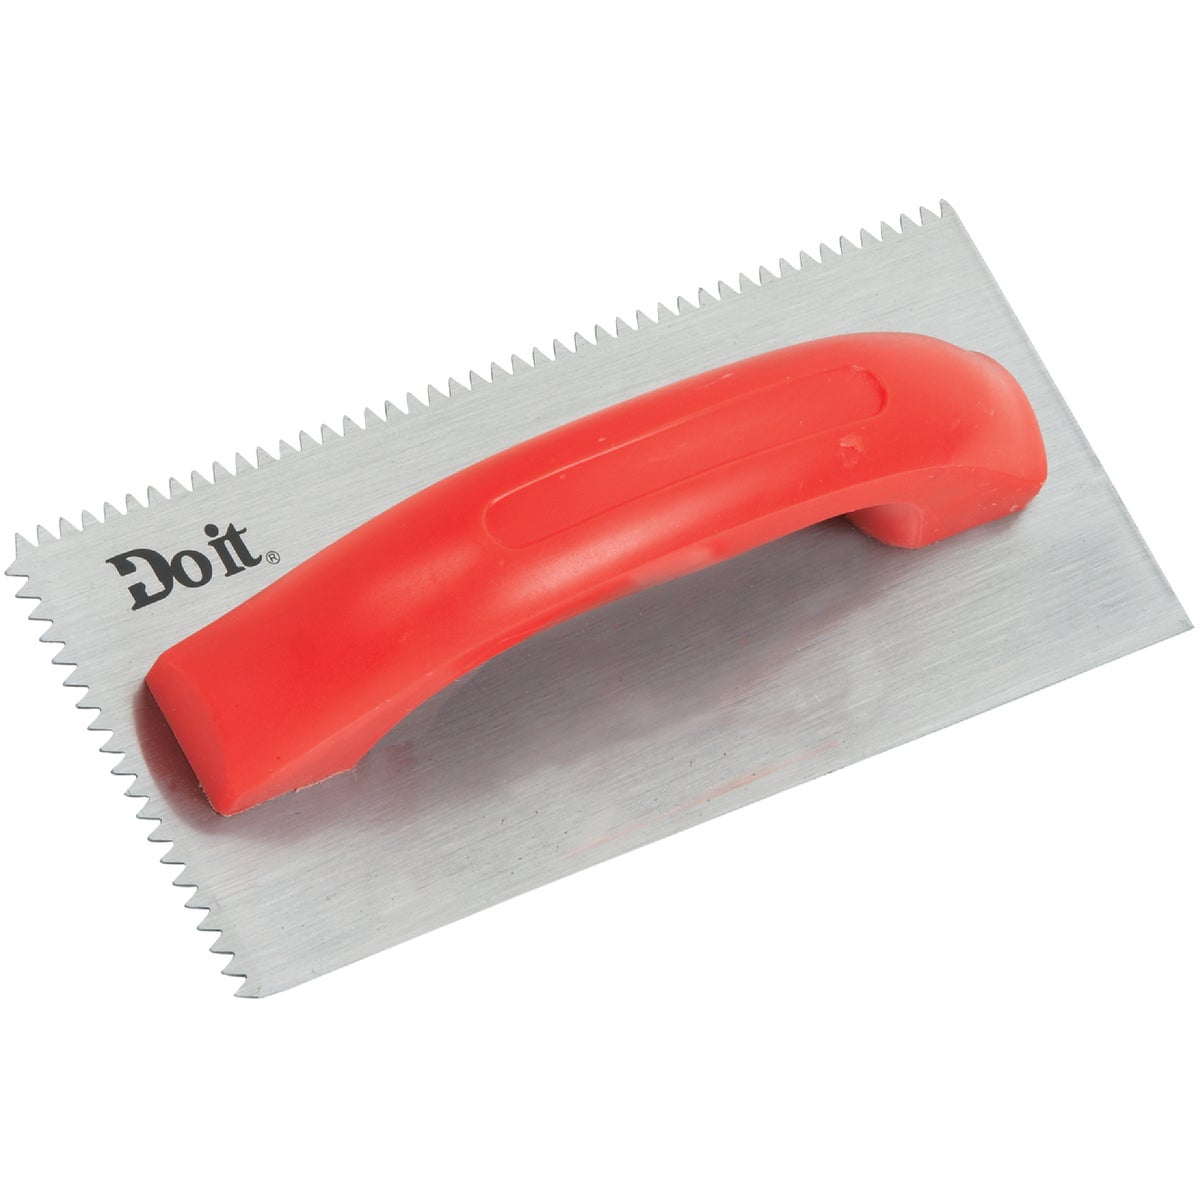
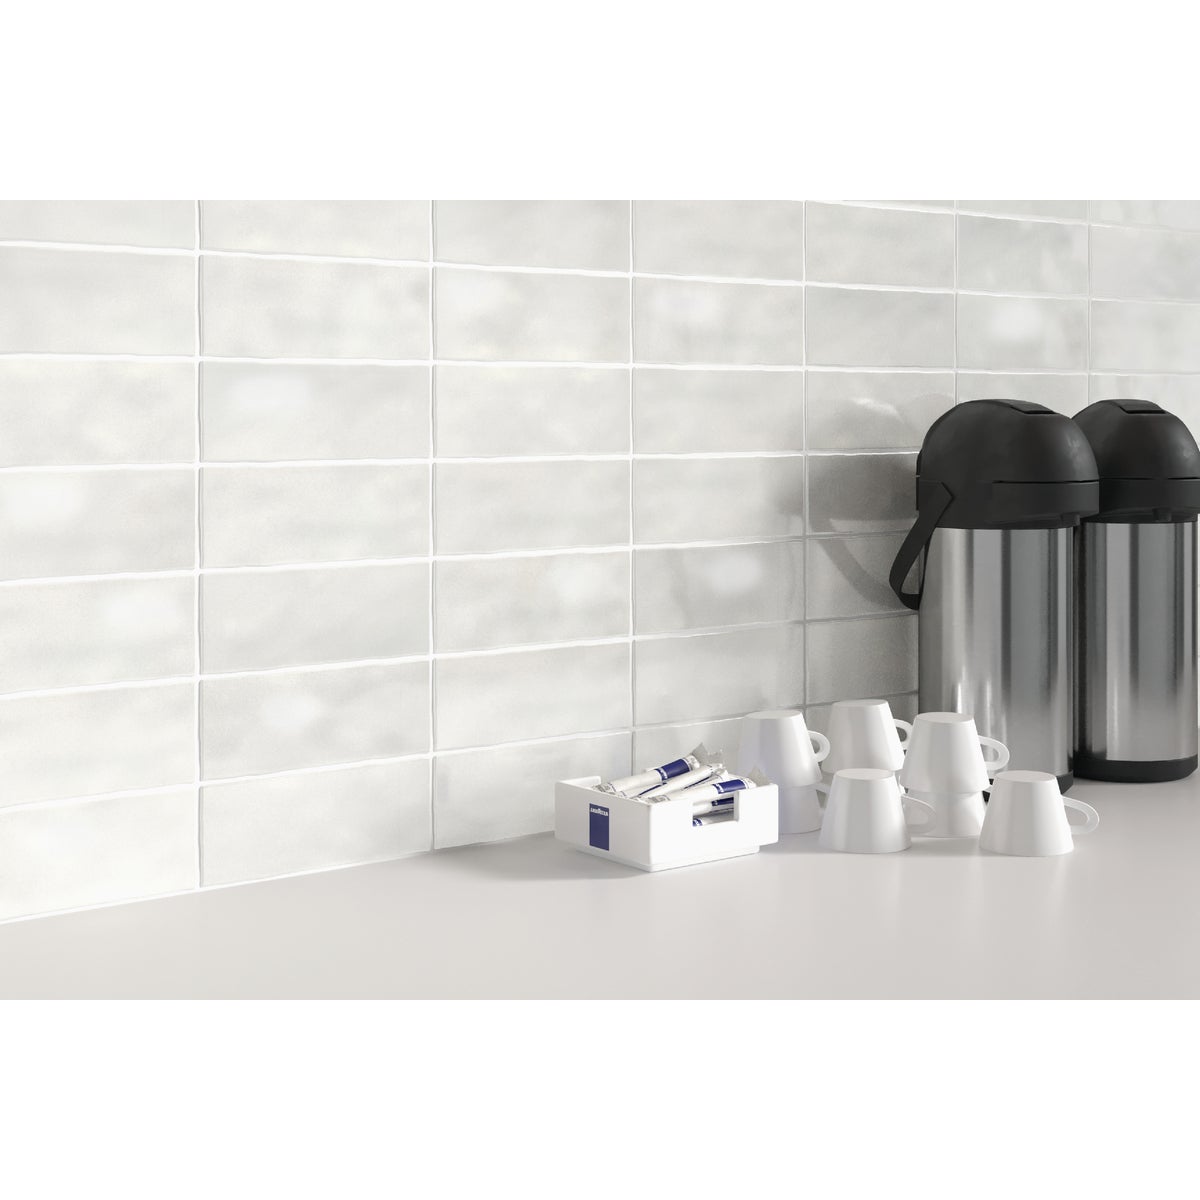
Comb tile mortar onto the wall with a notched trowel and set tile from the bottom up, using spacers for consistent, even grout lines. Let the mortar cure per the bag instructions (typically 24-48 hours) before grouting.
5. Grout and caulk
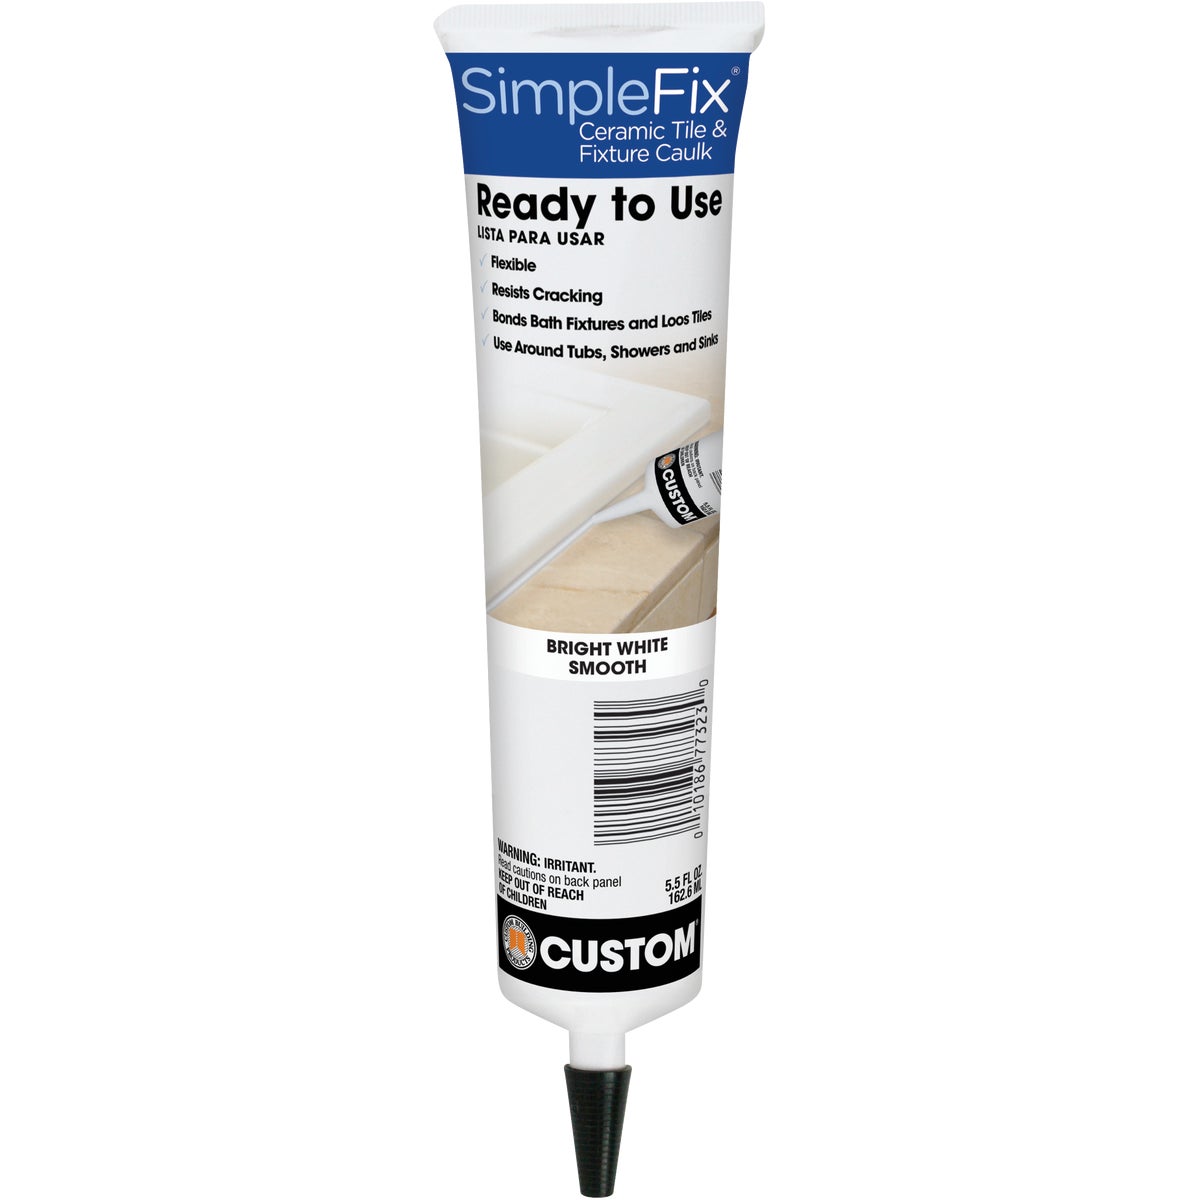
Fill the field joints with grout and let it cure. Then caulk — do not grout — the inside corners and the joint where tile meets the tub or shower pan; grout is rigid and will crack there, caulk flexes with the house.
Frequently asked questions
Can I tile directly over the old fiberglass shower instead of removing it?
No — fiberglass is too smooth and flexible for tile mortar to bond to reliably, and any flex behind the tile will crack grout and eventually break the water seal. Remove it down to the studs and start with cement board.
What's the difference between the cement board and the waterproofing membrane?
Cement board gives the tile mortar a solid, stable surface to grip — it is not waterproof by itself. The liquid waterproofing membrane rolled on top of it is the layer that actually stops water, so it needs full coverage over the board, seams, and corners, not just a light coat.
Sanded or non-sanded grout for shower wall tile?
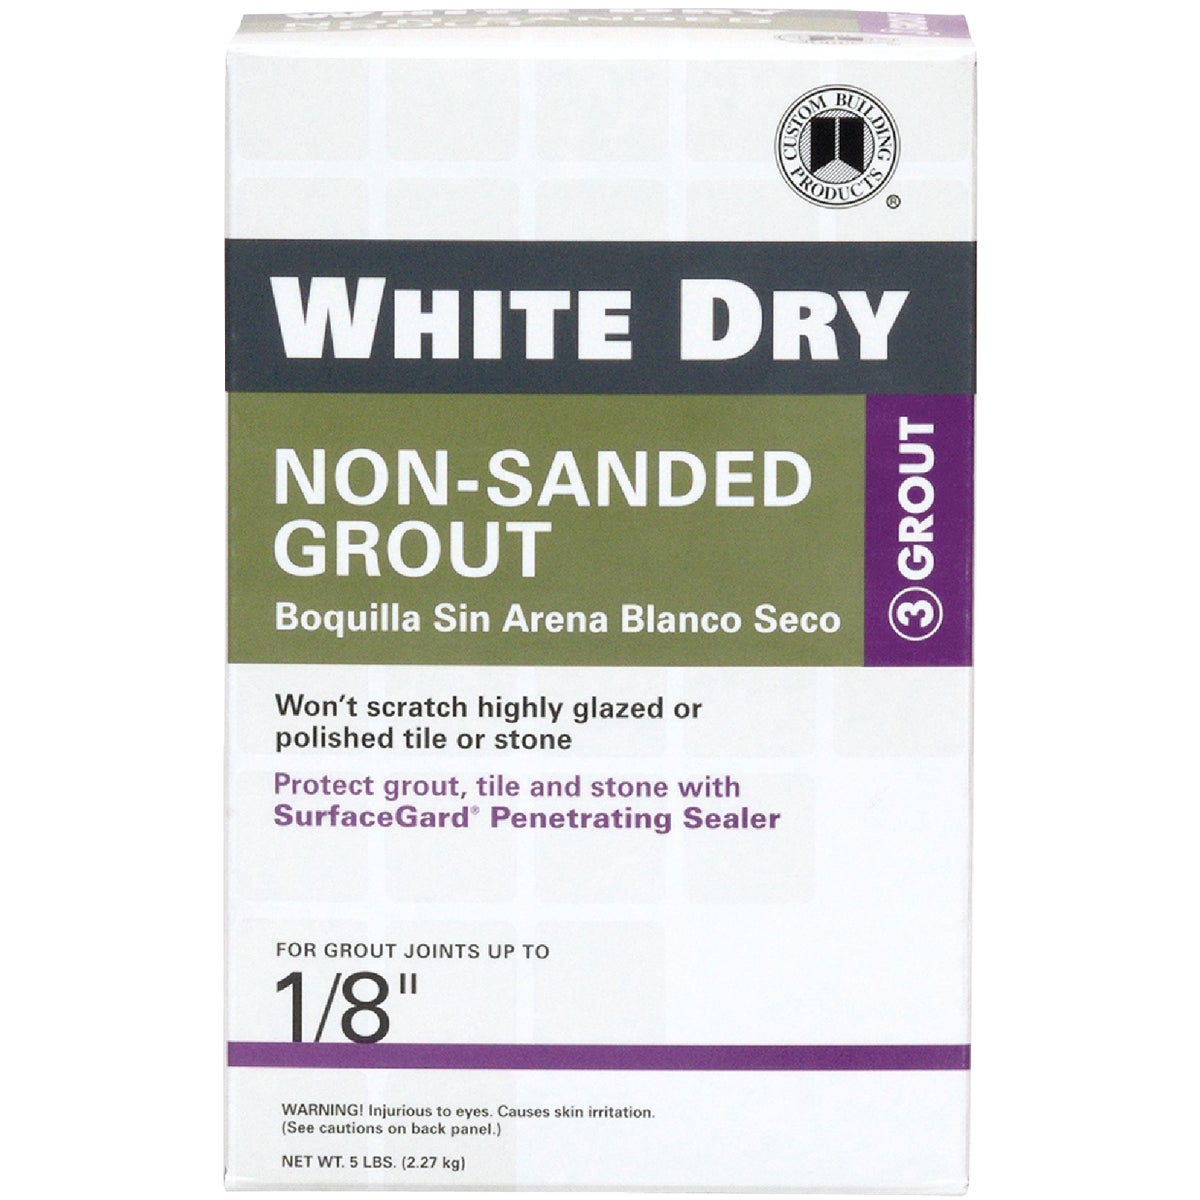
Non-sanded grout is the standard choice for the narrow joints (under about 1/8 in.) typical of wall tile like 3x8 in. porcelain. Sanded grout is for wider joints and is more common on floor tile.
How long until I can use the shower again?
Plan on the mortar curing 24-48 hours before grouting, then several more days for the grout and caulk to fully cure before regular water exposure — check the specific cure times printed on the products you buy, since they vary by brand.
Browse more in Building Materials, or ask Howard for help picking the right product for your project.