How to Solvent-Weld 2-Inch Schedule 40 PVC Pipe
Schedule 40 PVC pipe is joined with solvent cement, not glue in the sticky sense — the cement chemically melts and fuses the pipe and fitting surfaces into one solid piece. Most joint failures don't come from a bad fitting, they come from skipping the purple primer (which softens the mating surfaces so the cement can actually fuse them) or from not holding the joint together long enough while it grabs.
The right product for this job
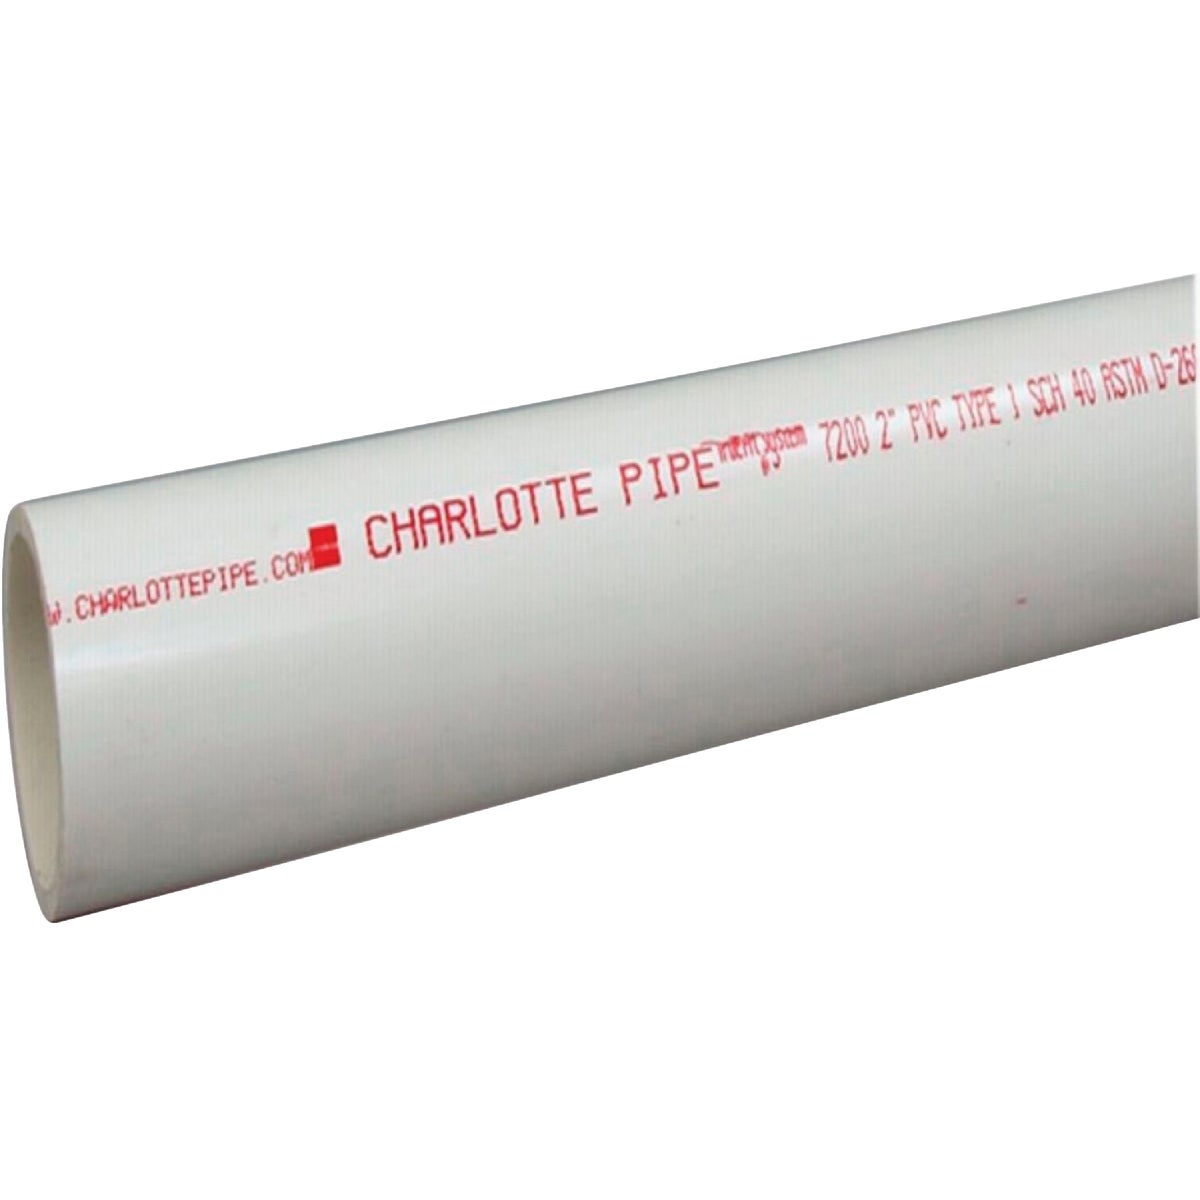
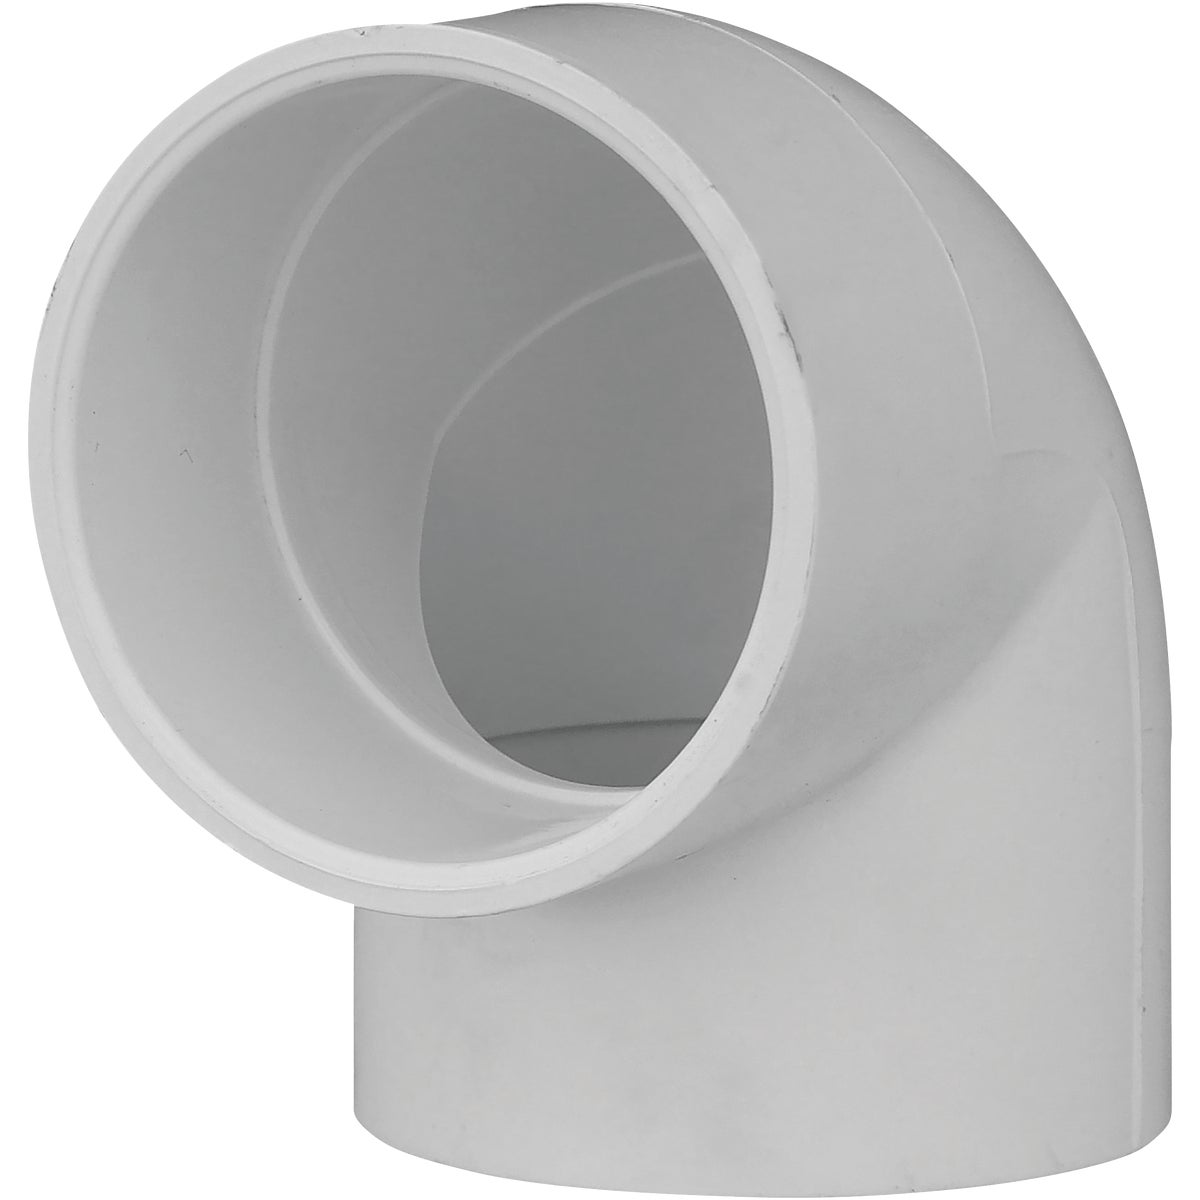
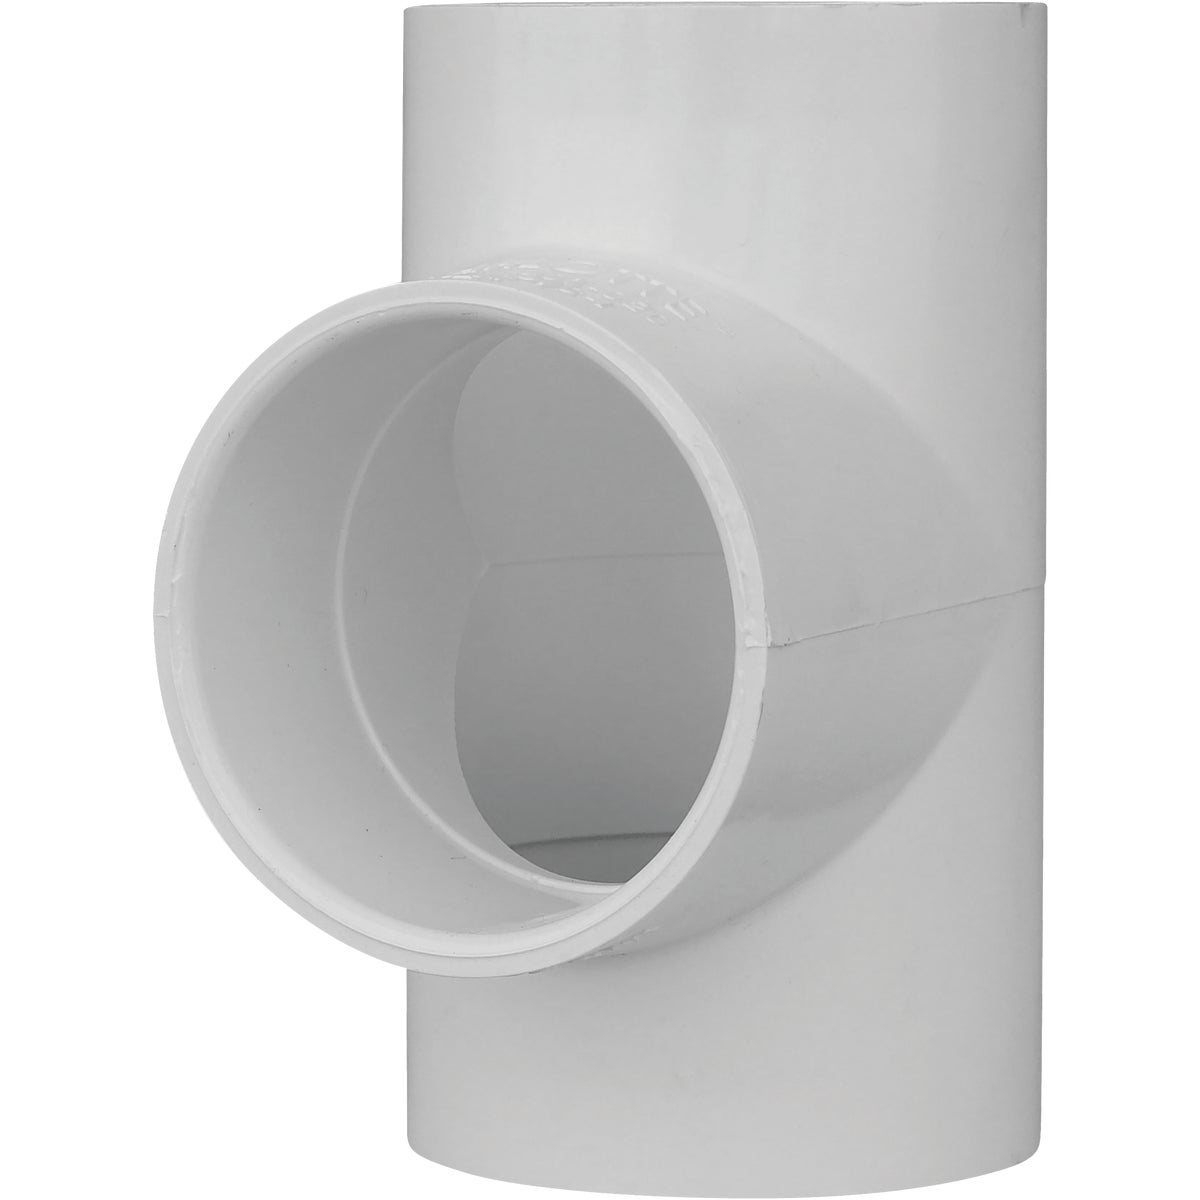
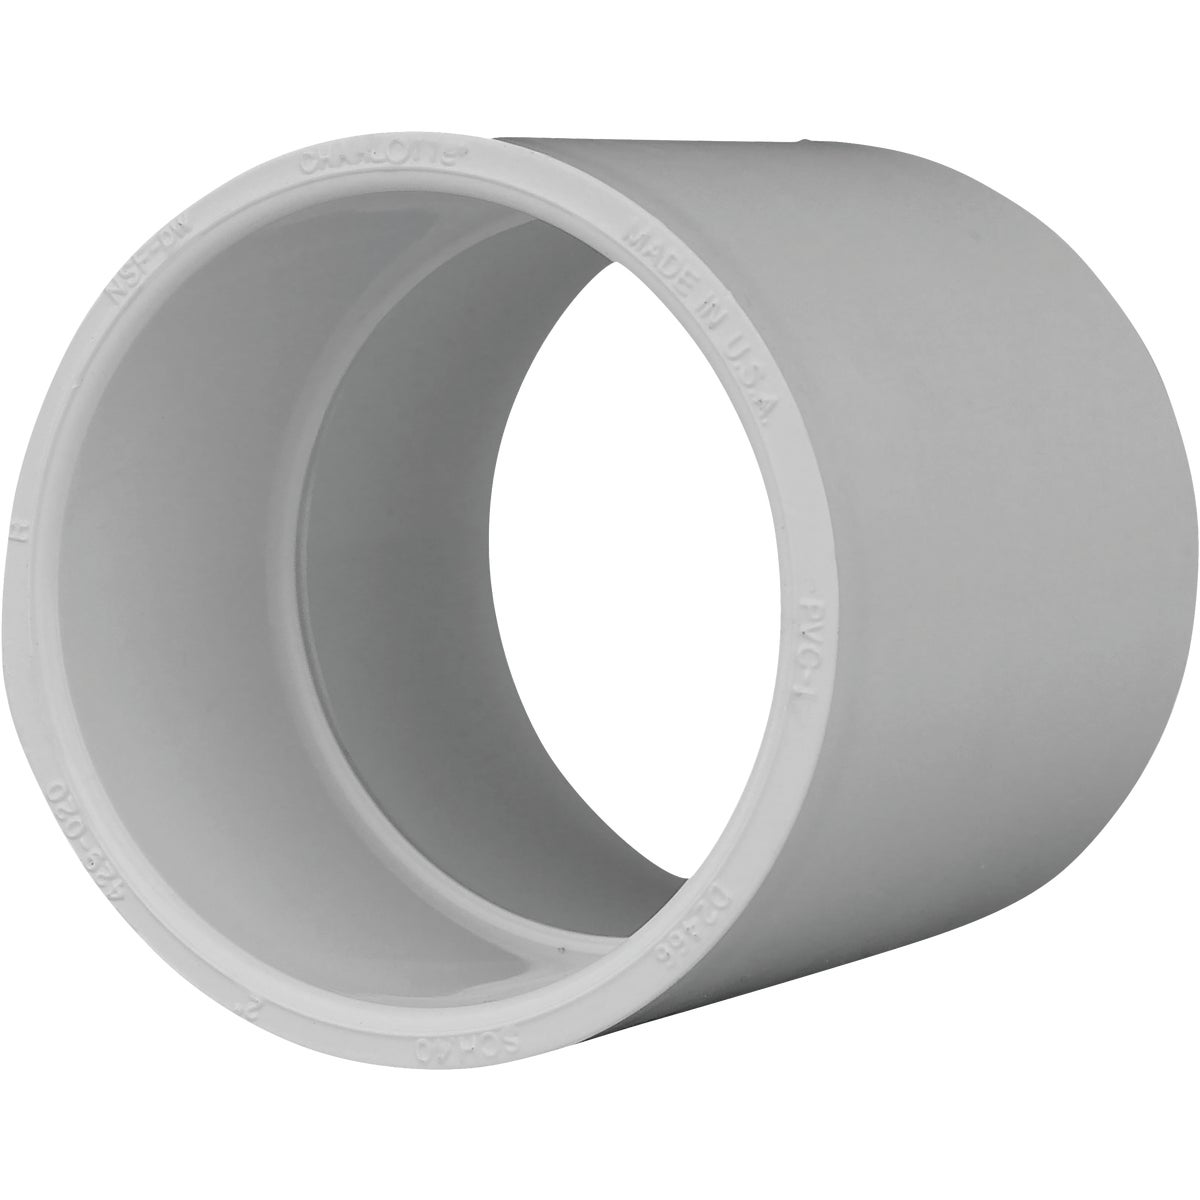
Steps
1. Measure, dry-fit, and mark
Dry-fit the run — pipe, elbow, tee, coupling — without cement first to confirm lengths and layout. Mark a reference line across each joint with a pencil so you can realign it fast once cement is applied and it starts to grab.
2. Cut square and deburr
Cut pipe square with a PVC cutter or fine-tooth saw — an angled cut leaves gaps for water to weep through. Deburr the cut edge inside and out and lightly chamfer it; a sharp edge scrapes primer and cement off the fitting wall as you insert it.
3. Prime both surfaces
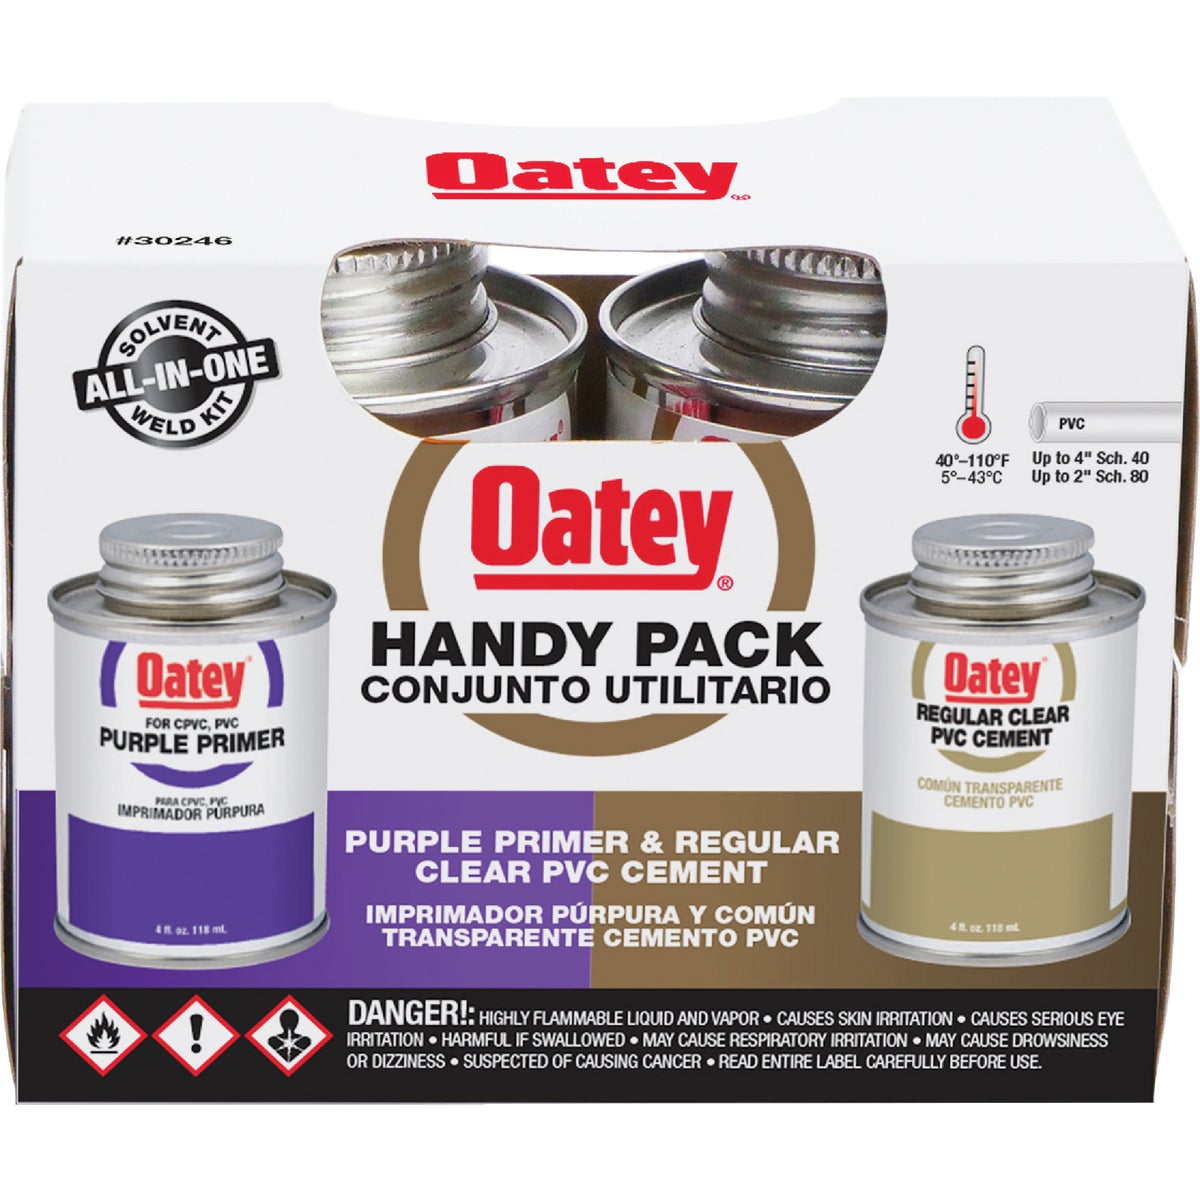
Apply purple primer to the outside of the pipe end and the inside of the fitting socket, working it in with the applicator until both surfaces look softened/glossy, not just wet on top. This step is what actually lets the cement fuse the joint — skipping it is the single most common cause of a joint that looks fine but weeps under pressure.
4. Cement and join with a quarter turn
While the primer is still wet, apply cement to both surfaces the same way, then push the pipe fully into the fitting with a quarter-turn twist to spread the cement evenly. Align it to your reference mark and hold firm pressure for about 30 seconds — the joint will try to push itself back out until the cement grabs.
5. Let it cure before pressurizing
A joint is usually set enough to handle gently within about 30 minutes, but do not run water or pressure through it for at least a few hours — check the working time and full cure time printed on your specific cement can, since it varies with pipe size and temperature.
Frequently asked questions
Do I really need the purple primer, or can I just use cement?
Yes — primer is not optional for a pressure-rated joint. It chemically softens the pipe and fitting surfaces so the cement can fuse them into one piece; cement alone on unprimed PVC mostly just glues the surfaces together, which is a weaker bond that is more likely to weep or fail under pressure over time.
Why twist the pipe a quarter turn going in?
The twist spreads primer and cement evenly around the entire joint instead of just where you pushed it in — a joint with a dry or uneven cement layer on one side is exactly where a slow leak starts.
Where should I put a union fitting in the run?
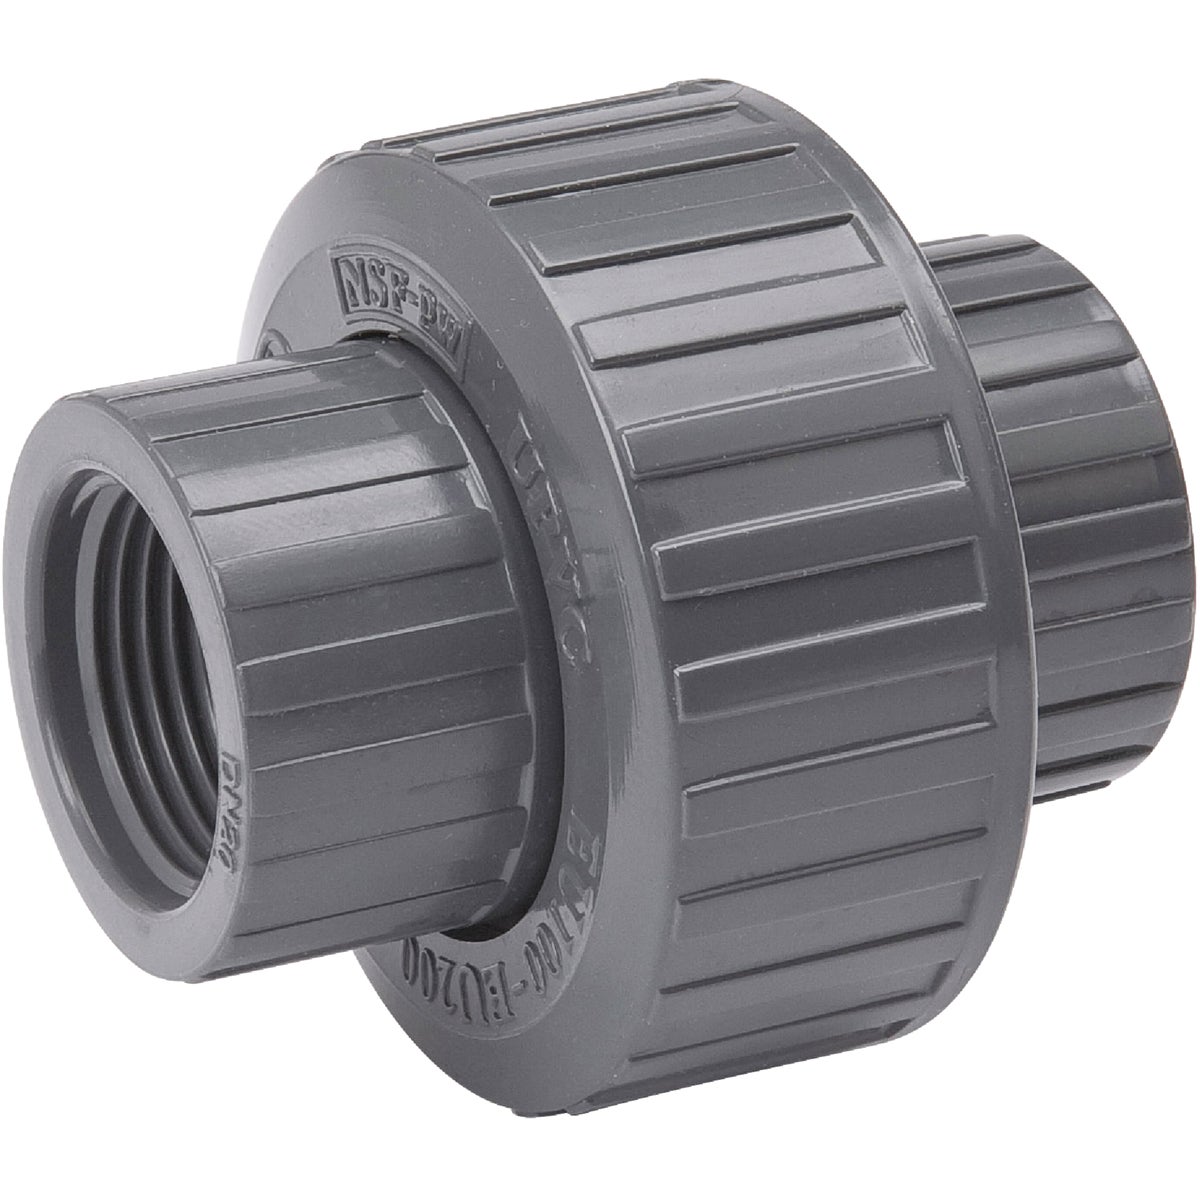
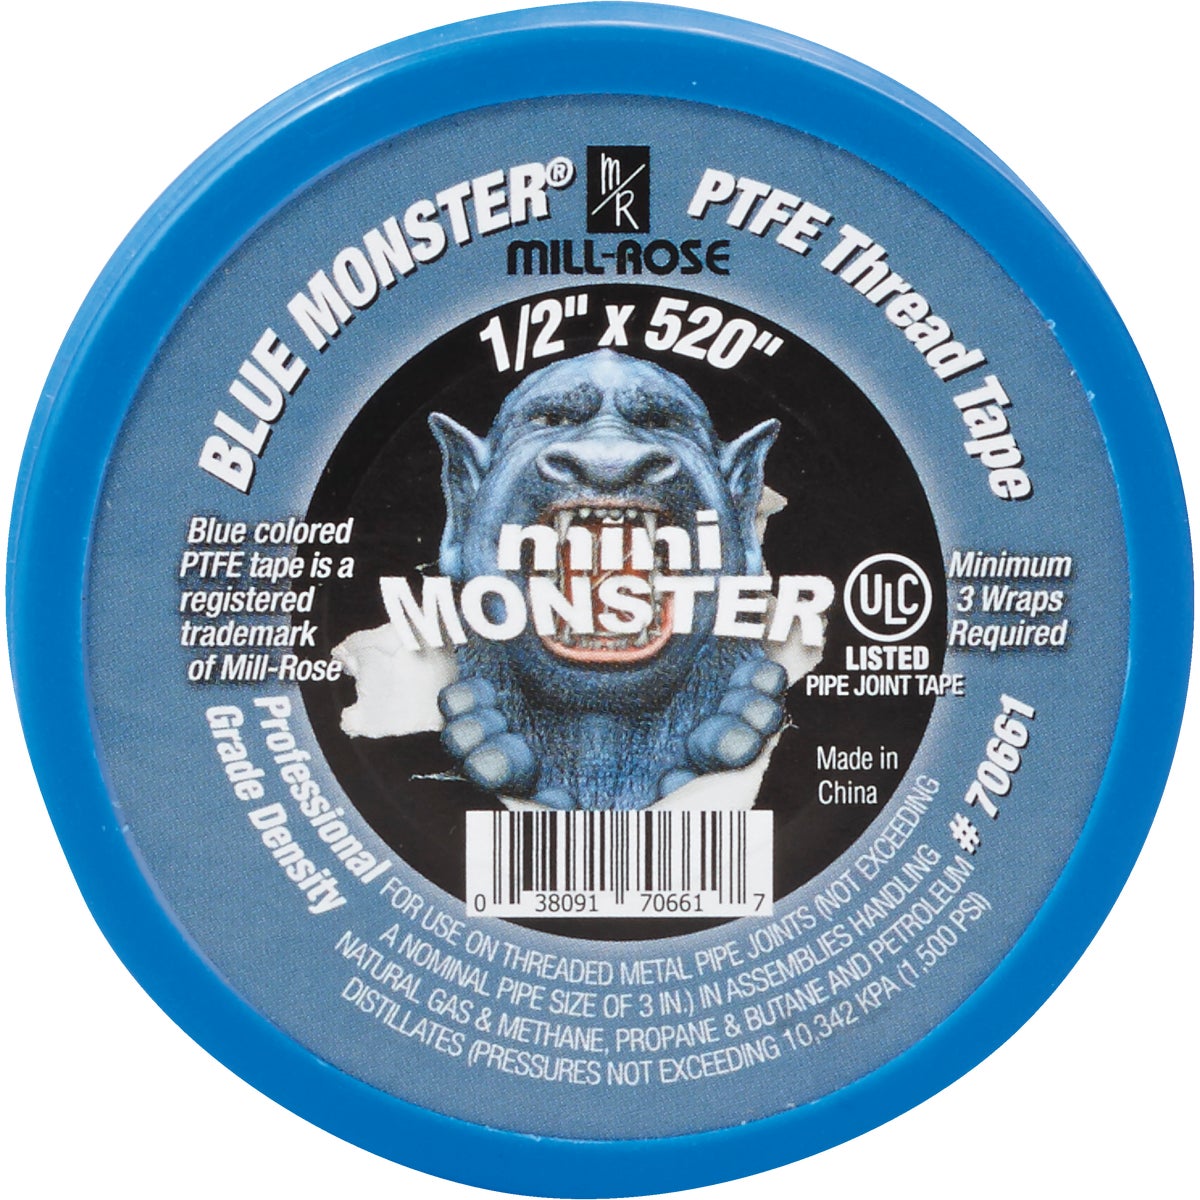
Put a union anywhere you might need to disconnect the line later without cutting it — typically right before a pump, filter, or valve. This union has solvent-weld socket ends like the rest of the run, but its center nut is NPT-threaded, so wrap those threads with Teflon tape before assembling it; that is the one connection in this list that is threaded instead of solvent-welded.
How long does a solvent-welded PVC joint actually take to fully cure?
Initial set is fast (workable in minutes, handleable in about 30), but full cure — the point where the joint is at full strength — commonly takes several hours to a full day depending on pipe size, cement type, and temperature. Check your cement can's cure chart before pressurizing the line, especially in cooler weather.
Browse more in Plumbing Supplies, or ask Howard for help picking the right product for your project.